
How to deep clean a mattress: A step-by-step guide
by Janine, Feb 2021A decent mattress doesn’t come cheap, and if you’re going to make the investment, you want it to last. With this in mind, you need to know how to deep clean a mattress properly!
Regular mattress cleaning doesn’t just extend its life span, it can also improve your health, and even boost your sleep. Dirty mattresses harbour dust mites, dead skin, dirt, and other debris – and this can be made worse if you have pets on the bed or a sneaky midnight snacker!
We typically spend around a third of our lives in bed so you want to make sure it’s a clean and comfortable place to be.
Fear not – whilst it might seem like a tricky task, deep cleaning a mattress is actually super simple! Here’s our step-by-step guide that will help you keep your mattress clean and ready for quality snoozing.
How to deep clean a mattress in 7 simple steps
1. First things first, gather your toolkit
You will need the following:
- A vacuum with an upholstery attachment (if you’re not sure if you have one, check out our article on vacuum attachments here)
- An enzyme cleaner or dish soap to get stains out
- Laundry detergent
- Baking soda
- Cleaning cloths
- Cold water
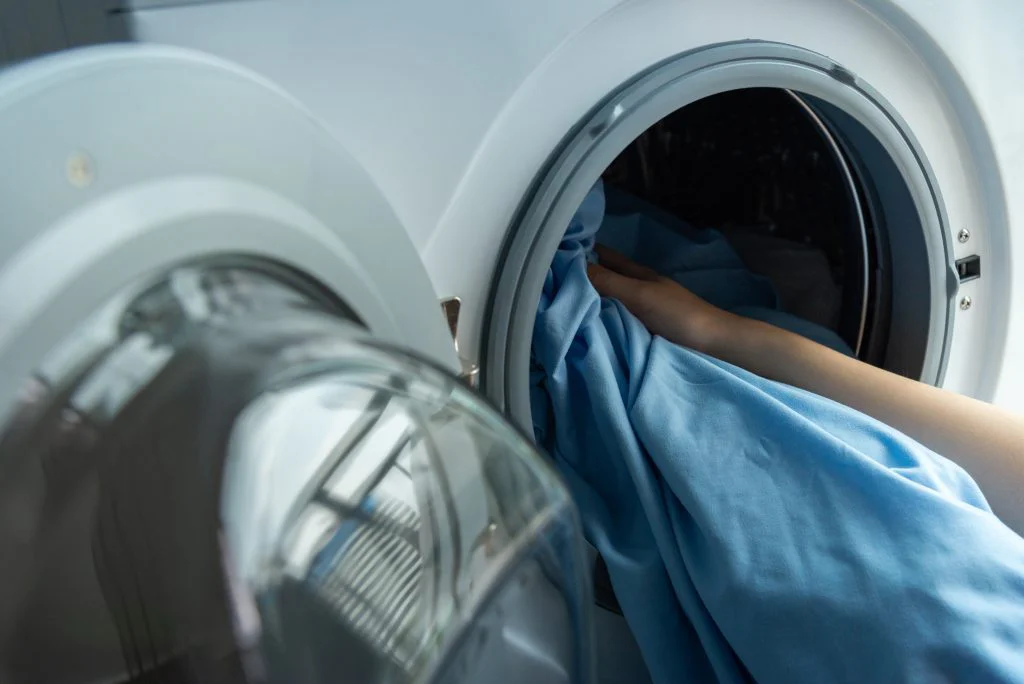
2. Next, strip the bed
It’s probably common sense, but it’s counterproductive to put dirty sheets back onto your clean mattress. So whilst you’re tackling the mattress, put all your sheets and pillowcases on a hot wash.
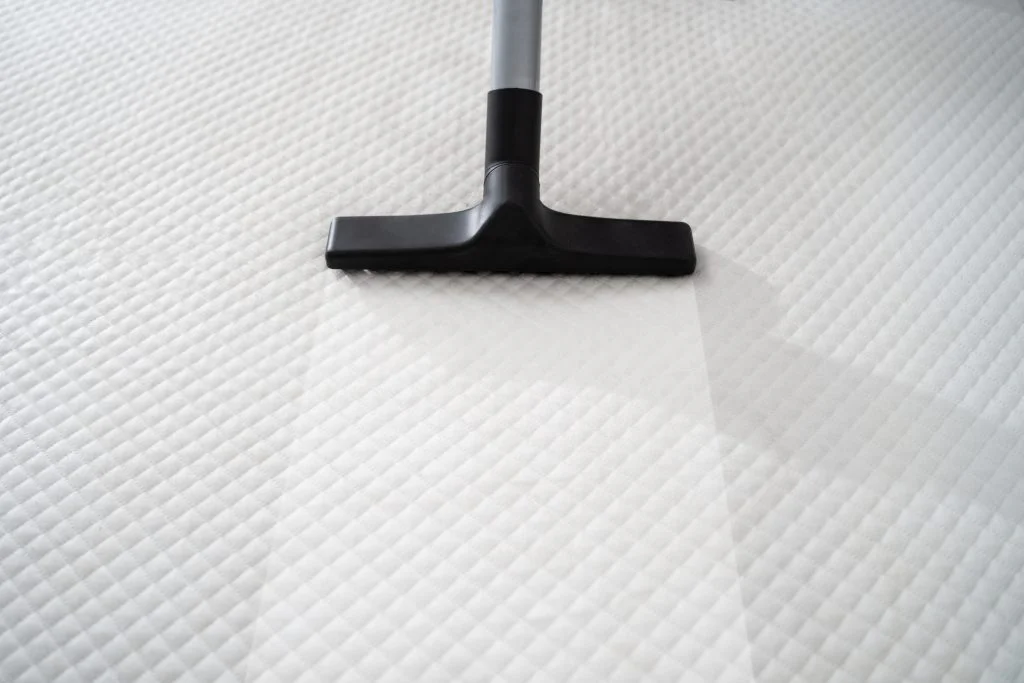
3. Start the deep clean by vacuuming your mattress
The first step in deep cleaning your mattress is to grab your vacuum cleaner’s upholstery attachment and go over the entire surface of the mattress, including the sides.
Pay special attention to seams and break out the crevice attachment (again, check out our vacuum attachment article!) to get any hidden dirt or dust.
4. Tackle any set-in mattress stains
Never soak your mattress or apply water or cleaning solution directly to it. Memory foam, for example, isn’t supposed to get wet at all.
Mattresses have a large surface area and would take a long time to dry if you soaked in too much water!
So spot cleaning it is – this is where you grab your enzyme cleaner. An enzyme cleaner is better known as a stain remover – enzymatic cleaners are basically just any cleaning products that use enzymes in their formulas to help break down stains.
Spray the cleaner onto a clean white cloth, and then blot the stained area with the cloth. After that, you can apply cold water to a different clean cloth and continue blotting until the stain lifts.
5. Use baking soda to eliminate mattress odours
If you can’t put your mattress out in the sun and fresh air, baking soda is the next best thing.
The longer you can leave the baking soda on the mattress the better, so if you can plan ahead and do this before you leave for an overnight trip – that would be ideal. Baking soda will break down acid and absorb any remaining moisture or odour.
All you need to do is sprinkle a light layer of baking soda (sometimes called bicarbonate of soda) all over the surface of your mattress. Leave for at least a few hours, before vacuuming up any excess.
Top tip: Open any windows in the room to let the light and sunshine in. The sun’s UV rays will actually help kill any mould or bacteria on the mattress.
6. Flip the mattress and repeat
Now that one side of your mattress is sparkling clean, it’s a good idea to flip your mattress and repeat steps 1-5 on the other side.
However, check with your mattress manufacturer as some newer mattresses may not need flipping or it may not be advised.
7. Clean the headboard and re-make the bed
If you have a fabric headboard, now’s a good time to vacuum that as well! Might as well get a fresh start with everything bed-related. You can also give hard headboards a good wipe down and tackle any lurking dust or dirt on your bedframe or furniture.
Once you’re finished, re-make up the bed with your clean sheets, and your mattress deep cleaning is complete! And the last step? Enjoy!
To avoid having to deep clean your mattress again in a few months time, investing in a mattress protector is recommended. They’re not too expensive, can help avoid any further stains, and can also be a deterrent for bedbugs.
Mattress Deep Cleaning FAQs
How regularly should I deep clean a mattress?
You should deep clean a mattress every 6 months or so, especially if your mattress is over a couple of years old. To prevent your mattress from getting dirty prematurely, use a mattress protector and regularly wash this along with your sheets.
You can also stay on top of mattress cleaning by airing out and vacuuming your mattress every time you wash the bed sheets.
Why is it important to deep clean a mattress?
Deep cleaning your mattress is important for two reasons. First and foremost, it keeps the place you sleep clean and hygienic, preventing illnesses caused by bacteria, dust and debris build-up.
The average person sheds skin cells, hair and up to a pint of sweat while sleeping every night, meaning mattress cleaning really is essential – especially if you tend to get hot at night.
Maintaining a hygienic bed environment can even boost your sleep – which can improve mental health, increase energy, focus and productivity, and reduce the risk of many diseases and disorders. Getting a good night’s sleep has even been proven to improve your relationships!
The second reason to deep clean your mattress is because it can make it last longer. Keeping it in good condition reduces the need for a replacement due to stains or odour issues.
How do you deep clean a mattress quickly?
Need to deep clean your mattress at speed? Unfortunately, there’s no shortcut to deep cleaning a mattress, it’s a task that will take a few hours when you follow the steps outlined above.
If you struggle to find the time to fit in a mattress deep clean or other essential household tasks, we offer one-off domestic cleaning services and seasonal blitz cleans throughout the UK.
And the last step? Enjoy!